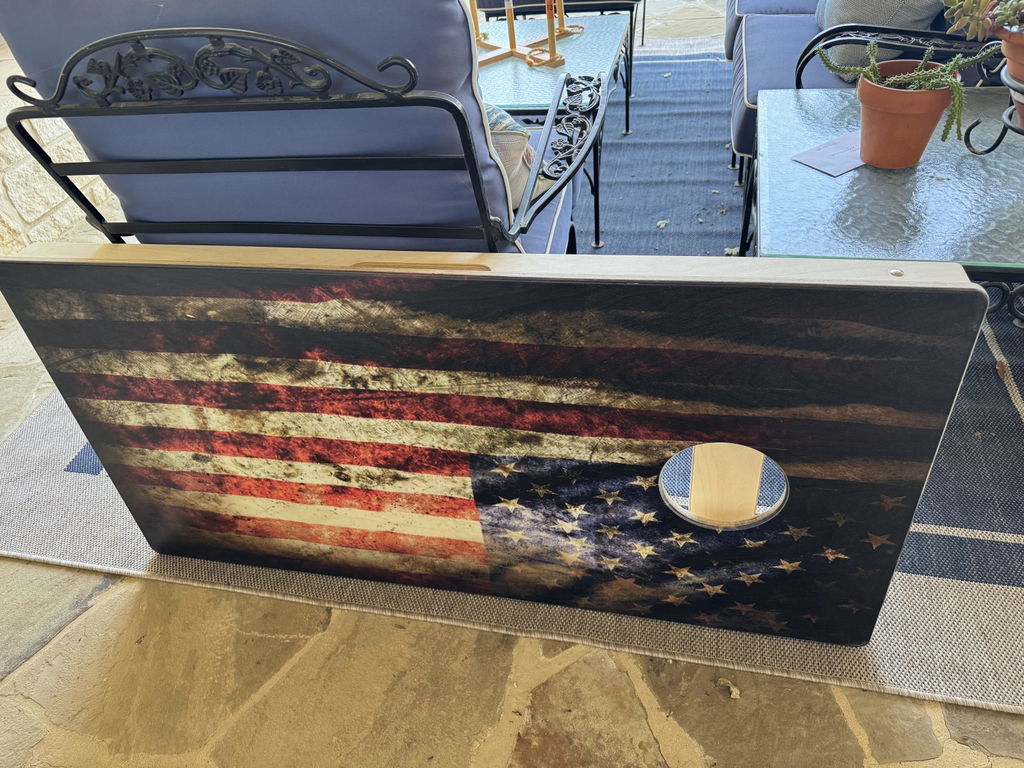
Cornhole is a game that brings people together, perfect for backyard barbecues, tailgating events, and family gatherings. The fun doesn’t have to stop when the sun goes down. Playing at night adds a unique and exciting element to the game, but it requires one essential ingredient: light. At Skip’s Garage, we believe in extending the fun and creating memorable experiences, which is why we’ve put together this guide. We pride ourselves on quality and ensuring you get the absolute best, and that includes helping you enhance your game for night play.
Adding lights to your cornhhole boards not only makes the game possible after dark but also creates a fantastic atmosphere for your evening festivities. This guide will walk you through everything you need to know, from choosing the right lights to installing them safely. When paired with professional cornhole bags, your nighttime games become even more enjoyable and consistent.

Choosing the Right Lights for Your Boards
Before you begin, it’s important to select the best type of lighting for your needs. Different lights offer various effects and installation processes. At Skip’s Garage, we know that quality materials make all the difference, so we recommend considering your options carefully to ensure a durable and impressive result.
One popular choice is LED light strips. These flexible strips come in a variety of colors and can be attached along the frame or around the hole of your cornhole board. They provide excellent illumination that makes it easy to see exactly where your bags land as you play under the night sky. Many LED strip kits include remote controls that allow you to change colors, brightness, and lighting modes.
Another strong option is a set of dedicated cornhole lights. These circular LED systems fit perfectly around the hole of your board, creating a bright target that makes aiming simple even when visibility is low. They are designed specifically for cornhole boards, giving them a clean, professional appearance. Serious players, especially those who use professional cornhole bags for added control and accuracy, often prefer this style for its precision and focus.
Each option has its strengths. LED strips offer full-board lighting with customization, while hole lights provide a clean and simple installation with a clear focal point. Some players even choose to combine both styles for maximum effect.
Materials and Tools You Will Need
Gathering everything in advance will make the installation process far easier. The essentials include your chosen lighting system, such as LED light strips or hole lights, along with a compatible power source. Battery packs are most commonly used since they allow your boards to remain portable without needing to plug anything in.
You will need a way to secure the lights and battery packs, which can be done with strong adhesive tape or small screws. A measuring tape helps ensure even placement, and a drill may be necessary if your lights or battery pack have screw-based mounts. Scissors are useful for trimming LED strips to size, and rubbing alcohol with a clean cloth will help prepare the board surface so adhesives hold properly.
Step-by-Step Installation Guide
Once you have gathered your materials, you can begin preparing your boards. Start by cleaning the areas where the lights and battery pack will be attached. Rubbing alcohol works well for removing dust and oils so that adhesives bond securely.
After cleaning, take time to measure and plan where you want your lights to go. LED strips can run along the inside or outside edges of the frame, and hole lights should be centered perfectly around the opening. Planning your layout helps you avoid mistakes and ensures a clean, symmetrical look.
You can then attach your lights. When applying LED strips, peel off the adhesive backing and press the strip firmly along the frame. Work slowly to keep the strip straight. If your kit includes clips, you can secure the strip even more firmly with small screws. Hole lights are typically attached using the provided screws, and it’s important to avoid drilling too deeply so the board surface remains protected.
Once your lighting is installed, attach your battery pack to an easy-to-reach spot on the underside of the board. The top or side area usually works well. Use strong adhesive tape or screws to ensure it stays in place. After mounting the battery pack, connect your lights and switch them on to test everything. If your kit includes a remote, take a moment to try out all the different colors and modes.
Important Safety Precautions
Safety is extremely important during installation and gameplay. When using tools such as drills, always wear safety glasses to protect your eyes. Once your illuminated boards are ready, take a moment to check your playing area. Even though your boards will glow brightly, the space between them might still be dim, which can create tripping hazards.
Make sure that any loose wires on the underside of your board are secured so they cannot be snagged accidentally. It also helps to check your battery packs every so often to ensure they are not overheating. Turning off the lights when not in use and choosing high-quality batteries helps your system last longer and function more safely.
Elevate Your Cornhole Experience
Adding lights to your cornhole boards is a fun and simple upgrade that transforms nighttime play into a bright, festive experience. With the right lights and a clean installation, you’ll create a setup that looks professional and performs beautifully. When you combine illuminated boards with professional cornhole bags, the result is a smooth, competitive, and truly elevated game experience.
At Skip’s Garage, we are dedicated to providing top-tier products and resources to help you make the most of every match. Now that your boards are ready to shine, all that’s left is to gather your friends, step outside, and light up the night.