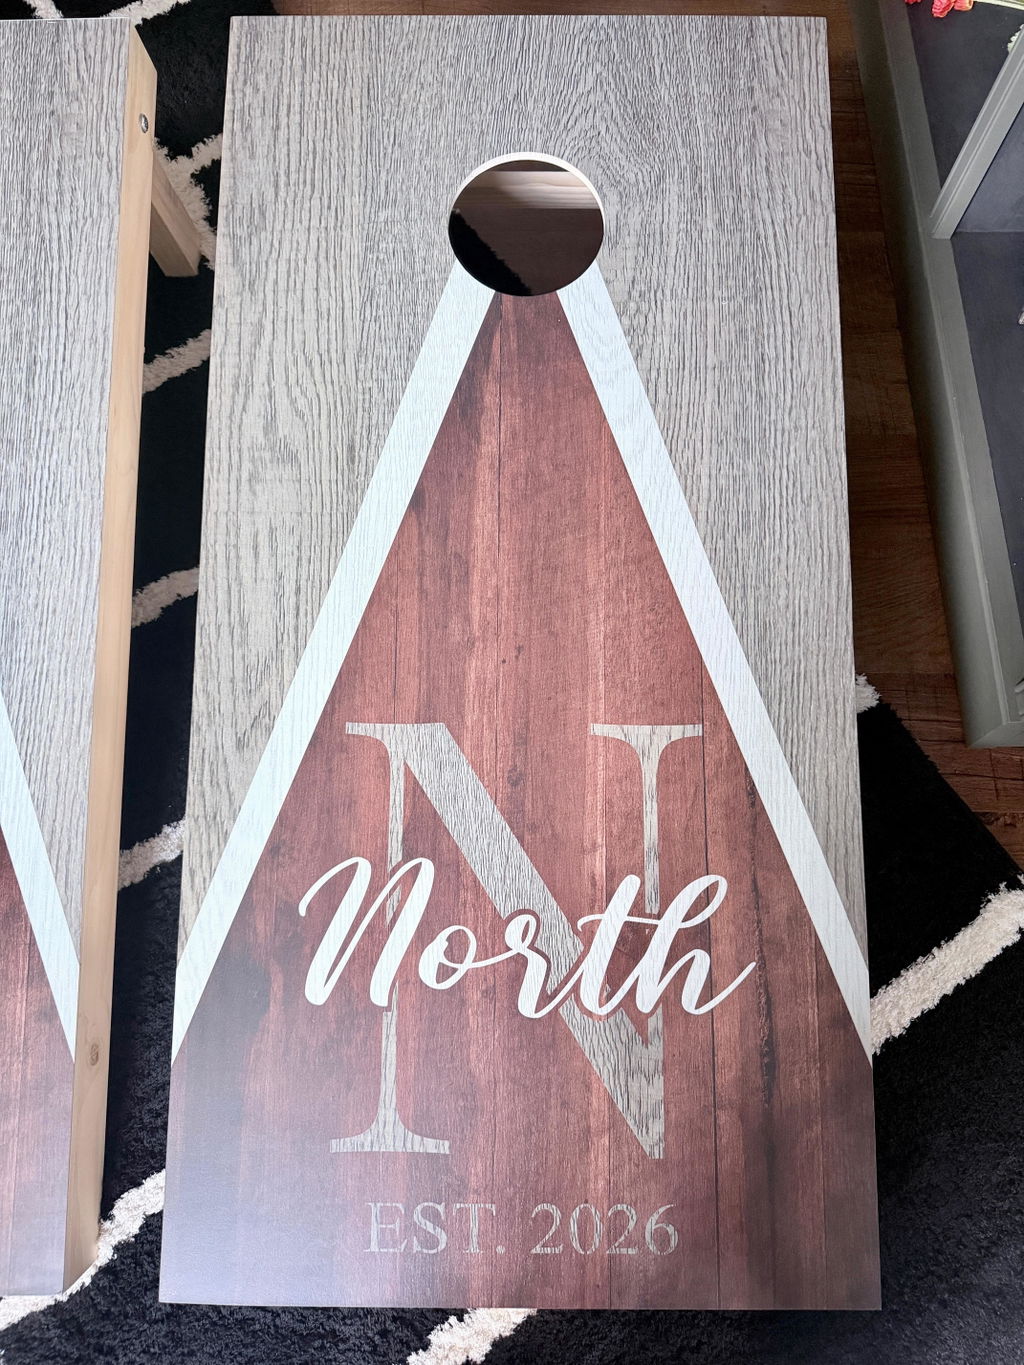
Spending a sunny afternoon tossing bean bags with friends is a cherished backyard tradition. You have likely invested good money or significant time into acquiring a beautiful set of american cornhole boards. Leaving those wooden boards exposed to morning dew, unexpected rain showers, or even high humidity can quickly ruin your outdoor fun. Moisture is the natural enemy of untreated wood, leading to warping, rotting, and ruined decals.
Waterproofing your wooden game equipment is the best way to ensure it survives unpredictable weather and rowdy backyard barbecues. A proper, clear coat not only repels water but also provides a slick, professional playing surface. The bags will slide perfectly, and the wood will remain vibrant and structurally sound for years.
This guide walks you through the entire process of sealing your wooden surfaces. You will learn exactly what supplies to gather, how to prepare the wood, and the specific techniques required for a flawless, weather-resistant finish. By dedicating just a weekend to this project, you can protect your equipment and keep the games going season after season.

Understanding the Importance of Waterproofing for Board Longevity
Wood is a porous material that readily absorbs moisture from its environment. When American cornhole boards are left outside, the wood expands as it takes in humidity and shrinks as it dries in the sun. This constant swelling and contracting inevitably leads to warped frames and uneven playing surfaces. A warped deck ruins the mechanics of the game, causing bags to bounce unpredictably or slide right off the edge.
Applying a high-quality waterproof sealant creates a protective barrier over the porous wood grain. This barrier stops moisture from penetrating the surface, locking out rain, spilled drinks, and damp grass. Beyond moisture control, a strong topcoat protects custom paint jobs and vinyl decals from peeling and fading. Taking the time to seal the wood properly is the ultimate insurance policy for your backyard entertainment.
Materials Needed: Selecting the Right Sealants and Sandpaper
Gathering the correct supplies before you begin will save you from frustrating interruptions. The most critical component is your chosen sealant. Polyacrylic is widely considered the best option for this type of project. It dries crystal clear, cleans up easily with water, and will not yellow over time, the way traditional polyurethane often does. You can purchase polyacrylic in traditional liquid cans for brush application or in aerosol cans for a spray-on approach.
Along with the sealant, you need a high-quality synthetic bristle brush if you opt for the liquid version. Foam brushes often leave unwanted bubbles in the finish and should be avoided. You will also need a few different grits of sandpaper to prepare the wood and smooth the coat between layers. Medium-grit sandpaper works well for the initial smoothing, while fine-grit sandpaper is perfect for the delicate finishing touches. Finally, grab a tack cloth or a lint-free microfiber towel to wipe away dust.
Step-by-Step Guide: Cleaning and Preparing the Surface
Preparation is the secret to a glass-like finish. You must start with a completely clean and smooth foundation. Begin by wiping down the entire wooden surface with a slightly damp cloth to remove any dirt, cobwebs, or debris. Allow the wood to dry completely before moving on to the sanding phase.
Take your medium-grit sandpaper and gently sand the entire deck, along with the sides and legs. Always rub in the same direction as the wood grain to avoid leaving visible scratches. This initial sanding opens up the pores of the wood and creates a slightly textured surface for the sealant to grip. Once you are satisfied with the smoothness, take your tack cloth and meticulously wipe away every single speck of sawdust. Any dust left behind will get permanently trapped under your clear coat, creating an unpleasant bumpy texture.
Application Process: How to Apply a Smooth Waterproof Coating
Applying the sealant requires patience and a steady hand. Dip your synthetic bristle brush into the polyacrylic, being careful not to overload it. Brush the sealant onto the wood in long, even strokes, always following the natural direction of the wood grain. You want to apply a very thin, even layer rather than a thick, gloppy one. Thick layers take much longer to dry and are highly prone to dripping and bubbling.
Make sure to coat the top playing surface, the inside of the circular hole, the outer frame, and the folding legs. The edges and the hole are highly susceptible to moisture damage and need thorough coverage. Once the first thin layer is applied, let it dry completely according to the manufacturer's instructions on the can. After it is dry, take your fine-grit sandpaper and lightly buff the surface. Wipe away the dust with your tack cloth, and then apply the next coat. Repeating this process for at least five to six thin coats will give you a beautiful, slick, and highly durable barrier.
Drying and Curing: Ensuring a Professional Finish
There is a significant difference between a finish feeling dry to the touch and a finish being fully cured. Polyacrylic usually feels dry enough to handle within just a few hours. However, the chemical process of curing takes much longer. Curing is what gives the sealant its final, hardened, waterproof properties.
You should leave your freshly coated equipment in a dry, well-ventilated area for at least three to four days before playing a game. Tossing heavy, dusty bean bags onto a surface that has not fully cured can cause deep dents and ruin the slick finish you worked so hard to achieve. Patience during this final drying window is absolutely vital for a professional-grade result.
Maintenance Tips for Weather-Resistant Cornhole Gear
Even with a fantastic waterproof coating, proper ongoing care will vastly extend the life of your equipment. The most important rule is to store your gear indoors when you are not actively playing. A garage, shed, or basement will protect the wood from extreme temperature fluctuations and prolonged UV exposure, which can eventually break down even the toughest sealants.
If your playing surface gets dirty during a backyard party, simply wipe it down with a damp cloth and mild soap. Avoid using harsh chemical cleaners, as they can strip away the polyacrylic barrier over time. Inspect the surface at the beginning of every summer season. If you notice the clear coat looking dull or feeling a bit rough, lightly sand the top deck and apply one fresh coat of sealant to revive the slick, waterproof finish.
Protecting Your Investment for Years of Play
Taking the time to properly waterproof your American cornhole boards guarantees they will remain the centerpiece of your outdoor gatherings for many summers to come. The process of sanding, sealing, and curing requires a bit of elbow grease, but the reward is a beautiful, warp-free playing surface that plays exactly as it should. Gather your supplies, dedicate a weekend to the process, and get ready to host the ultimate backyard tournament with total confidence.