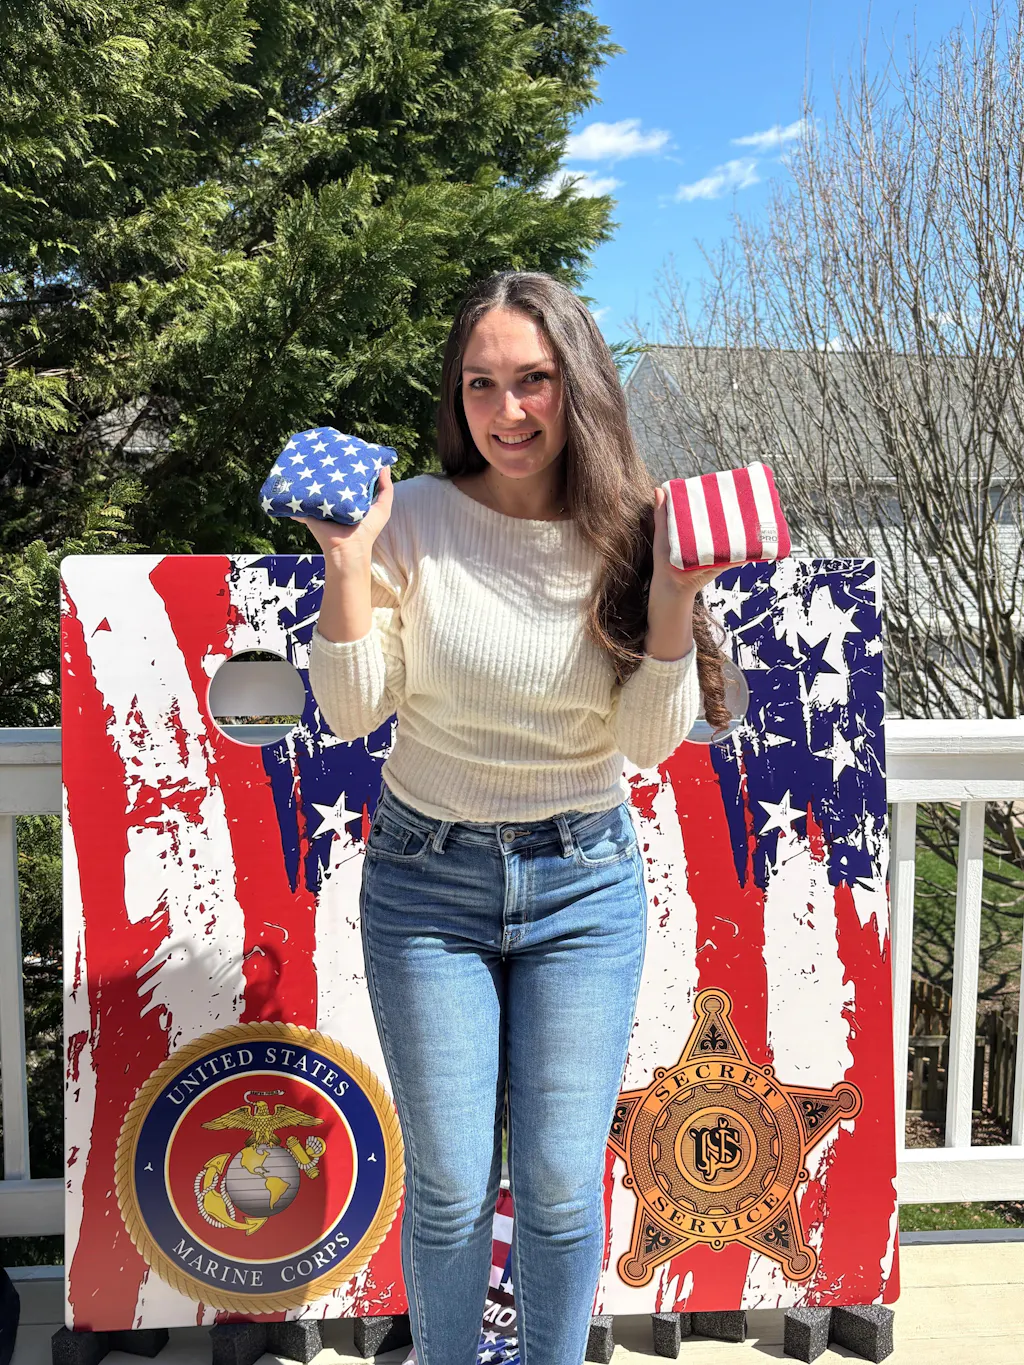
Cornhole is a fun game to play with friends and family, and the best part is that it can be played both indoors and outdoors. If you're someone who enjoys playing cornhole, you’ll know that having a personalized cornhole board makes the game even more exciting.
You’re probably aware that there are plenty of options available to you when it comes to designing your cornhole board. This blog post will walk you through some DIY craft projects to help you decorate your cornhole board with style. Make your own customized board, and show off your style and personality with these creative ideas.
Stenciling
Stenciling is an excellent technique to add your favorite designs to your cornhole board. You can buy a ready-made stencil kit or can easily create one yourself. Once you have the stencil, all you have to do is use spray paint or a brush to apply your design to the board. You can have fun with different shapes, fonts, and colors to make your board unique and creative.
Stenciling Techniques
There are a few techniques you can adopt to make your stenciling project successful. If you're using spray paint, remember to spray lightly to prevent the paint from seeping underneath the stencil. You can also use a sponge or a brush to dab paint onto the stencil; this technique can give you more control over the paint application.
To make your design pop, consider using multiple colors. You can blend the paints together while they're still wet to create a gradient effect. Alternatively, you can wait for the first layer to dry before applying a second color, which will give you a crisp and defined finish.
Don't forget about the background of your cornhole board. You can paint the entire board in a solid color, which can make your stencil design stand out. Or, you might choose to leave the wood natural for a more rustic look.
Finally, once your paint has completely dried, consider applying a clear sealant to protect your design from wear and tear. This will ensure that your personalized stencil design lasts as long as your love for the game of cornhole.
Decoupage
Using decoupage to decorate your cornhole board is an innovative way to personalize the game. Choose your favorite images, quotes, or patterns, and apply them to your board using glue. Get as creative as you can and experiment with different materials like fabric, tissue paper, or even bottle caps. The decoupage technique will help your designs stand out.
Decoupage Techniques
Decoupage is an art technique that involves the use of images cut out from paper or fabric, which are then pasted onto an object to decorate it. It is a versatile technique that can be used on various surfaces, including wood, glass, metal, and plastic. It is perfect for customizing your cornhole board as it allows you to incorporate a wide range of designs and motifs.
To start your decoupage project, first, choose the images or patterns you want to use. You can opt for magazines, postcards, photographs, or even fabric. Cut the images carefully and arrange them on your board to create the desired look. Once you have your design laid out, apply a layer of decoupage glue to the board and place your images.
After placing the images, apply another layer of decoupage glue over the top to seal them in. This will give your board a glossy finish and protect the images from damage. For added protection, consider applying a clear sealant after the glue has dried completely.
Decoupage is a fantastic technique for personalizing your cornhole board. It not only allows you to create unique and eye-catching designs but also gives you the opportunity to showcase your creativity and personality. With decoupage, your cornhole board will not only be a fun game to play but also an artistic statement.
Washi Tape
Washi tape is a durable, colorful tape that can be used to decorate your board. Because of its adhesive qualities, it's easy to apply and remove, so you can switch up the design whenever you want. You can use washi tape to create designs like rainbow stripes, checkered patterns, and even your favorite sports team's colors.
There are countless ways to use washi tape and create a unique design for your cornhole board. You can use the tape to create geometric patterns like triangles, squares, or hexagons, or you can create more organic shapes and designs. You could also use different colors of washi tape to create a color-blocking effect or a gradient design.
To apply washi tape, simply peel off the backing and stick it directly onto your board. Use a craft knife for a clean cut at the end of your design or where you want to change color. Since washi tape is repositionable, you can peel it off and readjust it if you are unhappy with the initial placement.
When applying washi tape, consider starting from the center of your board and working your way out to ensure an even design. Once you're happy with your design, press down firmly on the tape to make sure it's securely adhered to the board. To ensure the longevity of your design, consider applying a clear sealant over the top. This will protect your washi tape design from any potential damage during play.
By utilizing washi tape, you can create a cornhole board that is as dynamic and vibrant as your gameplay. Plus, with the easy application and removal process, you can switch up your designs as regularly as you'd like. Turn your cornhole board into a canvas and let your imagination run wild with washi tape.
Paint

Customizing your cornhole boards with paint opens a world of possibilities for personalization. You can opt for solid colors to represent your favorite sports team, or go for a more artistic approach with intricate designs, patterns, or even portraits. Here are some tips to make your painting project successful:
Tip 1: Choose the Right Paint
When painting your cornhole board, it's crucial to choose the right kind of paint. Acrylic paint is a popular choice due to its durability and wide range of colors. It is also water-resistant, which is ideal for outdoor games like cornhole.
Tip 2: Use Masking Tape for Clean Lines
If you want to create a design with clean, crisp lines, use masking tape. Mark out your design on the board with the tape, ensuring it's firmly pressed down to avoid paint seepage. Once you've painted over it and the paint is completely dry, gently peel off the tape to reveal your design.
Tip 3: Experiment with Techniques
Don't be afraid to experiment with different painting techniques. You can use brush strokes for a textured look, sponging for a more rustic feel, or even splatter paint for a funky, modern aesthetic.
Tip 4: Add a Personal Touch
Adding a personal touch to your cornhole board can make it truly unique. Consider painting your initials, a memorable date, or even a favorite quote onto the board.
Tip 5: Seal Your Design
After your design is complete and the paint is dry, apply a clear sealant to protect it. This will enhance the longevity of your design and protect it from weather damage or wear and tear from gameplay.
Remember, the goal is to create a cornhole board that you love and reflects your personality. So, break out your paintbrushes and let your creativity run wild!
Wood-Burning
Wood-burning, or pyrography, involves using a heated tool to burn or scorch designs into the surface of wood. This lends a rustic, handcrafted appeal to your cornhole board and is exceptionally durable - the designs won't fade or peel off with time.
Safety First
When engaging in wood-burning, safety is paramount. Ensure you're working in a well-ventilated area to avoid inhalation of fumes. Wear heat-resistant gloves to protect your hands, and never leave the heated tool unattended.
Choosing Your Design
When it comes to choosing a design for wood-burning, the world is your oyster. You can opt for intricate patterns, iconic symbols, words, or even a detailed image. However, if you're new to wood-burning, starting with a simpler design can help you learn the ropes before moving onto complex patterns.
The Wood-burning Process
To start, draw your desired design onto the wood surface lightly with a pencil. This will serve as your guide as you go along. Once you're ready, heat your wood-burning tool according to the instructions. Carefully and slowly, trace over your pencil markings with the heated tool. The amount of pressure you apply will alter the depth and darkness of the burn, so practice on a scrap piece of wood first to get a feel for it.
Finishing Touches
After you've completed your design and allowed the board to cool, you may wish to add color. Acrylic paint works well for this, just take care not to paint over your burnt lines. Lastly, always apply a clear sealant to protect the design and ensure the longevity of your art.
Wood-burning can take time and patience to master, but with practice, you can create truly creative and unique cornhole boards that are sure to be the talk of your next backyard gathering.
Get Out There and Customize!
Now that you have some creative DIY craft projects to decorate and create the best cornhole boards, you can make your game even more fun. Choose the technique that best suits your skills and style, and get started. Make sure to have fun along the way and let your imagination soar. With your custom board, you’ll wow your friends and family with your creativity, and you’ll definitely want to show off your masterpiece at every chance you get. Happy crafting!