Cornhole has rapidly evolved from a casual tailgate pastime into a highly competitive sport enjoyed by millions across the country. While purchasing a professional set guarantees immediate playability and durability, there is a unique satisfaction that comes from constructing your own game set from scratch. Taking the time to build your own boards allows you to control every aspect of the process, from the selection of the lumber to the final coat of finish.
At Skip's Garage, we believe that the key to any successful project is a commitment to high-quality materials and precise craftsmanship. We pride ourselves on manufacturing excellence, and we want to pass that knowledge on to you. Whether you are a seasoned woodworker or a novice looking for a weekend project, this guide will walk you through the process of creating sturdy, tournament-grade diy cornhole boards that will last for years. By following our expert advice, you ensure that you get the absolute best product possible, even when you build it yourself.

Essential Materials and Tools for Success
The foundation of a great set of cornhole boards lies entirely in the quality of the materials you choose. We recommend avoiding cheap particle board or low-grade plywood, as these materials warp easily and ruin the playing experience. Instead, you should purchase two sheets of half-inch birch or oak plywood for the playing surface, as these provide the perfect amount of slide and bounce. For the frame, you will need four eight-foot lengths of high-quality two-by-four studs. We suggest selecting straight boards with minimal knots to ensure structural integrity.
Hardware is equally important for ensuring your boards stand the test of time. You must acquire a box of three-inch deck screws for the frame assembly and shorter screws for attaching the top deck. To attach the legs so they fold properly, you will need four carriage bolts, four washers, and four wing nuts.
Regarding tools, having the right equipment makes the job significantly easier and the results much cleaner. A circular saw is necessary for cutting the plywood and frames, though a miter saw is excellent for the smaller cuts. A jigsaw is essential for cutting the six-inch hole in the deck. You will also need a power drill with various bits, a measuring tape, a compass for drawing the hole, and a sander to ensure a smooth, splinter-free finish.
Cutting Your Components to Size
The first step in construction involves cutting your wood to the regulation dimensions. Official cornhole boards measure two feet wide by four feet long. You should cut your plywood sheets to exactly this size. Accuracy here is vital because if your top deck is not square, the entire board will sit unevenly. We personally guarantee that taking the extra time to measure twice and cut once will result in a superior final product.
Next, you need to cut the two-by-four lumber for the frame. For each board, cut two pieces to forty-eight inches in length for the sides and two pieces to twenty-one inches for the ends. The twenty-one-inch pieces will fit inside the longer side rails to create the two-foot width. Finally, cut the four legs to twelve inches in length. Do not cut the angle on the legs yet; this comes later in the assembly process.
Assembling the Frame and Deck
Begin assembly by building the box frame. Place your cut two-by-fours on a flat surface, positioning the shorter pieces inside the longer ones to form a rectangle. Use your power drill to drive the three-inch deck screws through the side rails and into the end pieces. We recommend pre-drilling pilot holes to prevent the wood from splitting, which ensures a tight, durable bond.
Once the frames are solid, lay your plywood deck on top. It should sit flush with the edges of the frame. Secure the deck using screws spaced about every twelve inches. Drive the screws slightly below the surface of the wood so that they can be filled with wood putty later. A smooth surface is critical for the bags to slide correctly, and we are committed to ensuring that your playing experience is perfect.
Cutting the Hole and Installing Legs
Finding the center of the hole is a specific process. Measure nine inches down from the top edge of the board and twelve inches in from the side. Mark this center point. Using a compass, draw a six-inch diameter circle around your center mark. Drill a starter hole inside the circle, then use your jigsaw to carefully cut along the line. Take your time here to ensure the circle is perfectly round.
Installation of the legs requires precision to ensure the board sits at the correct height. The back of the board should sit exactly twelve inches off the ground. Round off one end of each leg using your jigsaw so they can rotate freely inside the frame. Clamp the legs inside the frame near the top corners, drill a hole through both the frame and the leg, and insert your carriage bolts. Secure them with washers and wing nuts. Finally, prop the board up on a table so the top edge is twelve inches high, and mark a horizontal line on the bottom of the legs. Cut along this line to ensure the legs sit flat on the ground.
Sanding and Customization
The construction phase concludes with a thorough sanding. You want the entire board, especially the top surface and the edges of the hole, to be incredibly smooth. Any roughness can snag the cornhole bags and ruin the game. Start with coarse-grit sandpaper and move to a fine grit for a polished feel.
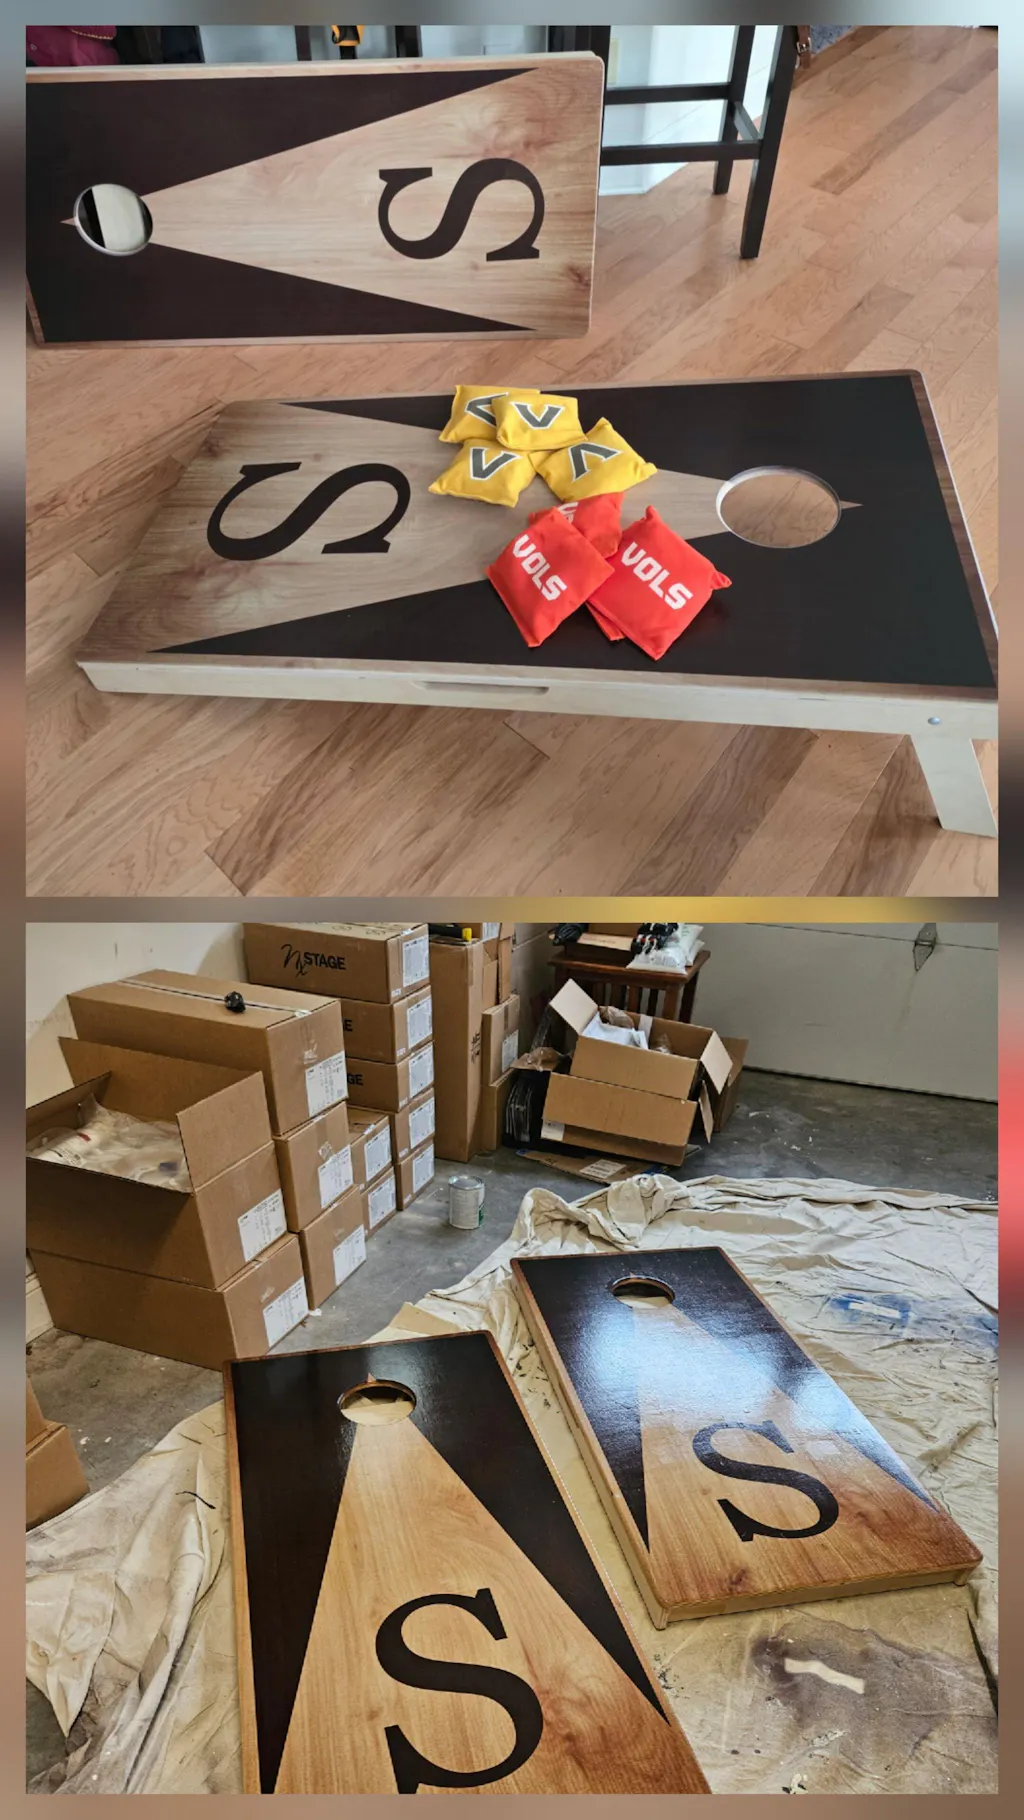
Now comes the fun part, where you can make the boards truly yours. You can paint the boards with a high-gloss exterior paint or apply a stain for a rustic look. Many people choose to add decals or vinyl wraps to represent their favorite sports teams or themes. At Skip's Garage, we offer an unbeatable selection of custom designs, and while painting them yourself is rewarding, applying a clear coat of polyurethane over your design is non-negotiable. This protective layer seals the wood and ensures the bags slide consistently, providing that professional tournament feel.
Start Your Build Today
Building your own cornhole boards is a rewarding project that results in a game you can enjoy with friends and family for years to come. By using high-quality materials and paying attention to detail, you can create a set that rivals anything you might find in a store. We understand that your time is valuable, and we hope this guide helps you make a product you are proud to display in your backyard.
However, we also understand that not everyone has the tools or the time to dedicate to a DIY project. If you decide that building your own set is too much of an undertaking, Skip's Garage is here to help. We offer the best value given the high quality of materials we use and the time and attention we give each set we build. Whether you build it yourself or choose to buy from us, we are dedicated to helping you enjoy the game of cornhole to the fullest.