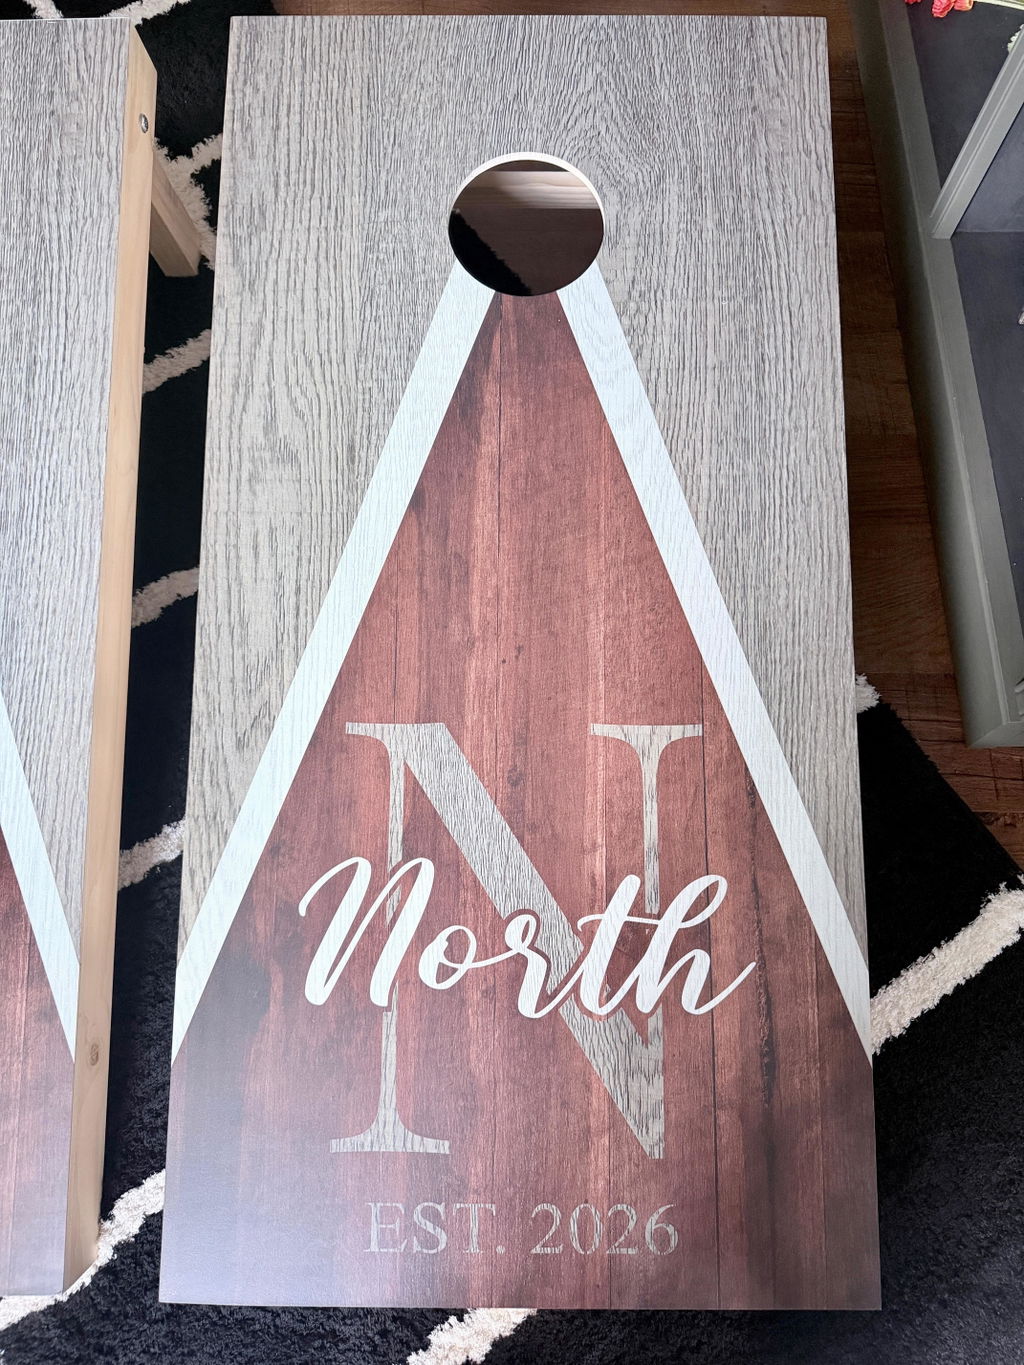
Anyone who has ever thrown a beanbag across a freshly cut lawn knows that cornhole is a serious competitive sport. But when you look at the equipment used in casual weekend games compared to professional tournaments, a glaring contrast emerges. The difference between backyard and pro boards rarely comes down to the type of wood or the specific dimensions. Instead, the true distinguishing factor is the quality of the finish. Professional boards offer a slick, consistent slide, while amateur boards often feel sticky, rough, or warped after a few months in the sun.
Protecting your diy cornhole boards is essential for outdoor longevity and consistent gameplay. Unsealed wood absorbs moisture from the air, morning dew, and sudden afternoon rain showers. This moisture causes the wood to swell, warp, and eventually rot, completely ruining the playing surface. A well-protected board repels water and prevents the wood from deteriorating, ensuring your investment lasts for years.
Beyond simply preventing water damage, a proper seal dictates how the game is played. The sealant creates a smooth barrier that allows the bags to slide perfectly into the hole. Without this protective layer, bags will abruptly stop on the raw wood, making it impossible to execute advanced sliding techniques. Creating a professional-grade surface requires selecting the right materials, preparing the wood correctly, and applying the finish with patience.

Choosing the Right Outdoor-Grade Sealant
The journey to building a professional-grade playing surface begins with selecting the correct protective coating. Walking down the paint aisle at a local hardware store can be overwhelming due to the sheer volume of clear coats available. For cornhole enthusiasts, the choice usually narrows down to water-based polyacrylic or spar urethane.
Water-based polyacrylic is highly popular because it dries crystal clear and will not yellow over time. This makes it the perfect choice if your boards feature painted designs or custom vinyl decals that you want to keep vibrant. It also emits very little odor and cleans up easily with soap and water. However, polyacrylic is better suited for boards that are stored indoors when not in use, as it offers moderate weather resistance.
Spar urethane, on the other hand, is designed specifically for extreme outdoor conditions. It contains special additives that allow the finish to expand and contract with the wood during temperature fluctuations. Spar urethane also includes ultraviolet light blockers to prevent the sun from fading the wood and paint. While it provides superior protection against the elements, oil-based spar urethane has a slight amber tint that can alter the look of white paint or light-colored decals. Understanding these distinct properties will help you choose the best sealant for your specific playing environment.
Preparing Your Boards for the Perfect Finish
Even the highest quality sealant will fail if the wooden surface is not prepared correctly. Preparation is arguably the most critical phase of the entire project. The goal is to create an exceptionally smooth canvas that allows the finish to adhere properly and cure evenly.
Thorough sanding is the foundation of a great finish. You must start with a medium-grit sandpaper to remove any rough patches, splinters, or uneven joints on the plywood. Once the major imperfections are leveled out, you gradually transition to a fine-grit sandpaper. This smooths out the microscopic scratches left behind by the heavier grits. The surface should feel like glass beneath your fingertips before a single drop of sealant is applied.
After the sanding process is complete, cleaning the boards is your next crucial responsibility. Wood dust is the enemy of a smooth finish. If any dust remains on the board, the sealant will trap it, creating a bumpy surface that ruins the bag slide. You must use a tack cloth or a microfiber towel slightly dampened with mineral spirits to wipe down every inch of the wood. You should also vacuum the surrounding workspace so airborne dust does not settle on your freshly cleaned boards.
The Application Process
Applying the sealant requires a steady hand and a great deal of patience. The biggest mistake novice builders make is applying the finish too thickly in an attempt to save time. Thick coats take incredibly long to dry, often dry unevenly, and have a tendency to pool or drip down the sides of the board.
The secret to a professional finish is applying multiple thin layers. Using a high-quality synthetic bristle brush or a foam roller, you should spread the sealant evenly across the surface, always moving in the direction of the wood grain. Once the first thin layer is applied, it must be left alone to dry completely.
Between each layer, you need to lightly scuff the surface with a very fine finishing abrasive. This light sanding knocks down any tiny bubbles or dust particles that may have settled into the wet finish. After scuffing, you must clean the dust off once again before applying the next coat. Repeating this process for multiple coats builds a deep, durable, and incredibly smooth playing surface.
Curing time is the final test of your patience. While the sealant might feel dry to the touch after just a few hours, it is not ready for heavy beanbags to crash onto it. The chemical curing process takes several days to complete. Allowing the boards to sit in a dry, well-ventilated space for at least a week ensures the finish hardens to its maximum durability.
Ready for the Next Tournament
Transforming basic wooden frames into professional-grade equipment takes time, but the resulting gameplay makes every hour of sanding and sealing worthwhile. By selecting the right sealant, meticulously preparing the wood, and applying thin, even coats, your diy cornhole boards will rival anything seen on professional broadcasting networks. You can confidently step up to the pitcher's box knowing your equipment will provide the perfect slide, weather the outdoor elements, and provide endless entertainment for years to come.